how to clean your pasta machine~
you can clean you pasta machine regularly without dismantling it. since the "guards" on my machine are removed, the space between the roller and scraping blade is visible. with an orange stick, i slowly and carefully scrape the clay lodged in between them, then turn the machine's handle counterclockwise and wipe the rollers with wet wipes until you don't see any more traces of clay stuck to the rollers.
however, if you feel that your machine needs a thorough cleaning, here's one way to do it
i used the following tools and cleaning materials, but you can use the ones you're used to.. pliers, orange stick--used for manicures, screwdriver, wet wipes and wipe out.
this is the the pasta machine i use. you may be using a different brand so parts may vary.
since i don't have a use for them, i removed the "guards" from the machine the first time i cleaned it leaving the "rods" exposed.
before cleaning your machine, make sure you have at least a couple hours free. have enough lighting and lots of space to move -i sat on the floor-, and a cup to keep your screws and nuts in. an extra pair of hands is also helpful when you begin reassembling; ask a friend or family member ^_^

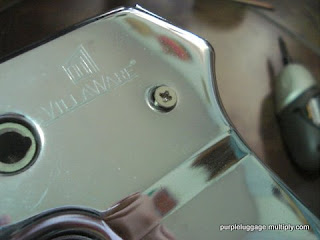
i began by removing the screw securing the cover plate (the side with the handle, not the one with the knob)

remove the cover plate and you'll see the slots and nuts you need to remove.
with a pair of pliers, loosen the nuts -- set them aside.
*remember how everything looks and where everything fits before you continue to dismantle your machine*
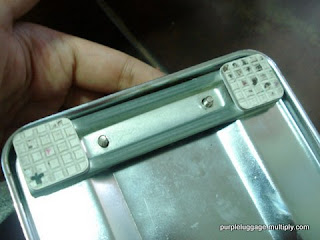
next, while supporting the rollers, carefully turn your machine upside down and remove the nuts holding the machine's "feet" and the side panel to the base.

then turn it right side up and set the screws aside to fully remove the side panel.
once you've removed the side panel, set your machine down in such a way that the rollers are perpendicular to the floor - so gravity doesnt "pull" the rollers down and risk ruining alignment.
label your blades so you know which side you attach them to when you reassemble your machine.

gently clean your scraping blades with an orange stick. the wood is soft enough to not damage the blade but sturdy enough to get all the gunk out (damage to the blades will affect the clay you roll out, the rollers or the machine's alignment). if it needs more cleaning, use wipe out and finish off with wet wipes.
*please be careful when cleaning you blades. the blades can be sharp.*
set the blades aside and clean the side panel.
go back to the machine, gently pull the rollers away from the other side panel to clean in between the roller's sides and the side panel.
once you've cleaned both blades, rollers and side panels, it's time to reassemble! hold the blades and rollers while replacing the side panel. it's simple because it's just like a puzzle, but it's VERY tricky to get everything in place while holding the side panel. patience is key ^_^
once you have the panel in place, put the nuts holding the side rods back.
replace the screws that hold the panel to the base, and, while holding on to these screws with two fingers, turn your machine upside down..
and attach the machine's "feet". replace the nuts.
almost there... put in that last screw and you're through!
good as new!


Comments